Bird Photography: Tips for Capturing Stunning Shots in the Field

Last Updated on May 28, 2026 by Amylee Silva
Bird photography on an expedition puts you in front of species that most photographers never encounter. Remote cloud forests, high-altitude páramo, and primary rainforests that no garden hide or local reserve can replicate. The opportunity is extraordinary. So is the technical challenge.
Shooting birds in expedition environments demands a different set of skills, settings, and decisions than most photographers have developed at home — and the gap between arriving prepared and arriving underprepared shows immediately in the images you bring back. This guide covers what actually matters: the gear worth carrying, the settings that work in low forest light, the field technique that separates productive sessions from frustrating ones, and the habits that turn a good trip into a portfolio of bird photos worth keeping.
The Challenge of the Cloud Forest
Capturing birds in a tropical mountain environment is not the same as bird photography in an open landscape. The cloud forest is defined by low light levels, constant movement of foliage, variable mist, and subjects that appear, flash colour, and disappear in seconds. A hummingbird at a feeder station gives you perhaps twenty seconds of relatively static opportunity; a tanager in the canopy gives you less. An antpitta on a forest trail, if you are fortunate enough to encounter one, may hold still — but in light conditions that would test any camera system.
The expedition traveller who approaches bird photography on an Ecuador birding expedition as though it were the same discipline as photographing birds on an open estuary or at a garden feeder will quickly discover the gap between expectation and result. The good news is that the adjustments required are not complicated — they are matters of preparation, correct equipment, and disciplined technique. None of them requires professional-level expertise. All of them make a meaningful difference.
Bird Photography Gear: What You Actually Need
Choosing the right equipment before you leave makes a difference to what you bring back. Here’s what actually matters for expedition bird photography.
Bird Photography Lens: Choosing Your Focal Length
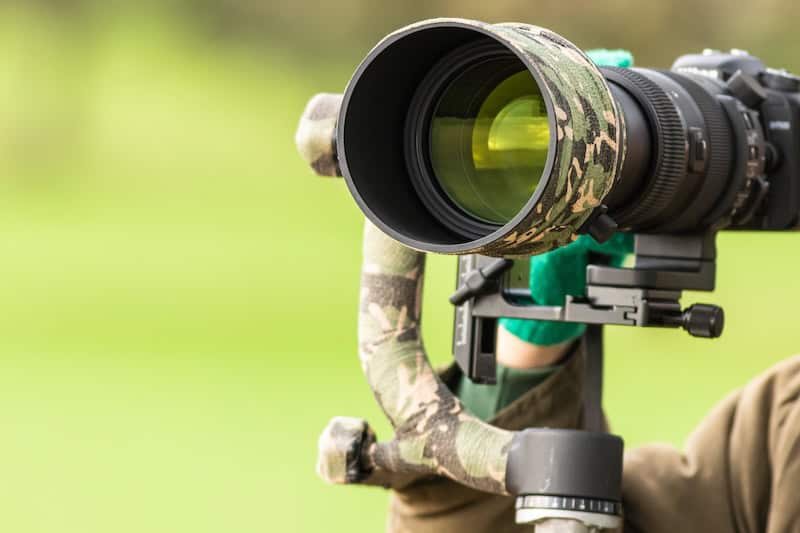
The single most consequential decision in bird photography gear is focal length. A telephoto lens of at least 400mm is the practical minimum for most bird photography; 500mm or 600mm is preferable for smaller or more elusive species. This range allows you to fill the frame with a small bird at the distances that avoid disturbance — typically ten to twenty metres in a managed feeder context, considerably further in the wild. The right bird photography lens makes this range of distances manageable without repositioning between shots.
For an Andean expedition specifically, where you will be photographing both at managed feeder stations (where distances are short and light is predictable) and in the wild forest (where neither holds), a zoom lens in the 100–500mm or 150–600mm range offers the flexibility to adapt without changing glass. Fixed telephoto primes in the 500mm–600mm range offer superior optical quality and maximum aperture, but at significant weight and cost.
The weight question matters on a multi-week expedition. A 600mm f/4 prime is optically magnificent but will exhaust you on a morning forest walk. Many experienced expedition photographers settle on the compromise of a high-quality zoom — the current generation of 100–500mm and 150–600mm lenses from major manufacturers offers excellent sharpness at manageable weights — supplemented by a teleconverter for extra reach when stationary subjects allow. Camera shake becomes a meaningful concern at these focal lengths, particularly in the low-light conditions of a mountain forest — which is why image stabilisation, whether in-lens or in-body, is worth weighing heavily when choosing between otherwise comparable options.
Camera Body: Full Frame vs Other Options
For bird photography specifically, the camera body’s autofocus system matters more than its megapixel count. Modern mirrorless bodies from Sony, Canon, and Nikon have autofocus capabilities — including subject tracking and bird eye detection — that were not available even five years ago. These systems allow you to lock focus on a hummingbird in flight and maintain it through a burst of frames with a reliability that was previously impossible without extensive practice.
High ISO performance is the second priority. Cloud forest light is consistently low, and the shutter speeds required to freeze a hummingbird’s wingbeats — 1/1600th of a second at minimum, 1/2500th or faster for a clean freeze — demand an ISO capability that modern full-frame sensors handle well. A full-frame camera with a large sensor is the strongest choice here: the larger photosites gather more light per pixel, which translates directly to cleaner high-ISO files and better image quality in the conditions that matter most. A camera that struggles above ISO 800 will frustrate you in this environment.
Continuous shooting speed matters for action sequences but is less critical than it once was; even mid-range bodies now shoot ten or more frames per second. The ability to shoot silently — available on most modern mirrorless systems — is worth considering in sensitive wildlife situations where shutter noise can cause disturbance.
Support and Accessories
A monopod or lightweight tripod is worth carrying on any dedicated photography session, particularly for longer lenses. Handheld shooting with a 500mm lens at slow shutter speeds produces blur that no amount of image stabilisation fully eliminates. At feeder stations where you may be waiting for a specific species, a monopod provides stability without restricting the rapid reframing that moving subjects demand.
Shoot in RAW format rather than JPEG. In low light, the ability to recover shadow detail and correct white balance in post-processing is not an optional refinement — it is often the difference between a usable image and a discarded one. High-speed memory cards and sufficient storage capacity for full-day RAW shoots are worth planning for before departure.
Core Camera Settings
The fundamental tension in bird photography is between shutter speed (which freezes motion), aperture (which controls depth of field and lens speed), and ISO (which compensates for low light but introduces digital noise). In the cloud forest, you will almost always be pushing towards faster shutter speeds and higher ISO than you would prefer. Most bird photographers working in variable light conditions use one of three approaches: aperture priority mode, which lets the camera select shutter speed while you control depth of field; manual mode, where you set every variable yourself; or shutter priority — the most common exposure mode for moving subjects — which locks your chosen shutter speed and lets ISO and aperture adjust around it.
For perched birds in reasonable light, start with shutter speed priority at 1/500th to 1/800th of a second, aperture at f/5.6 to f/8, and ISO at auto with a ceiling of ISO 3200 on a modern body. This gives you a usable depth of field and fast enough motion freezing for most stationary subjects while letting the camera manage ISO automatically as light varies.
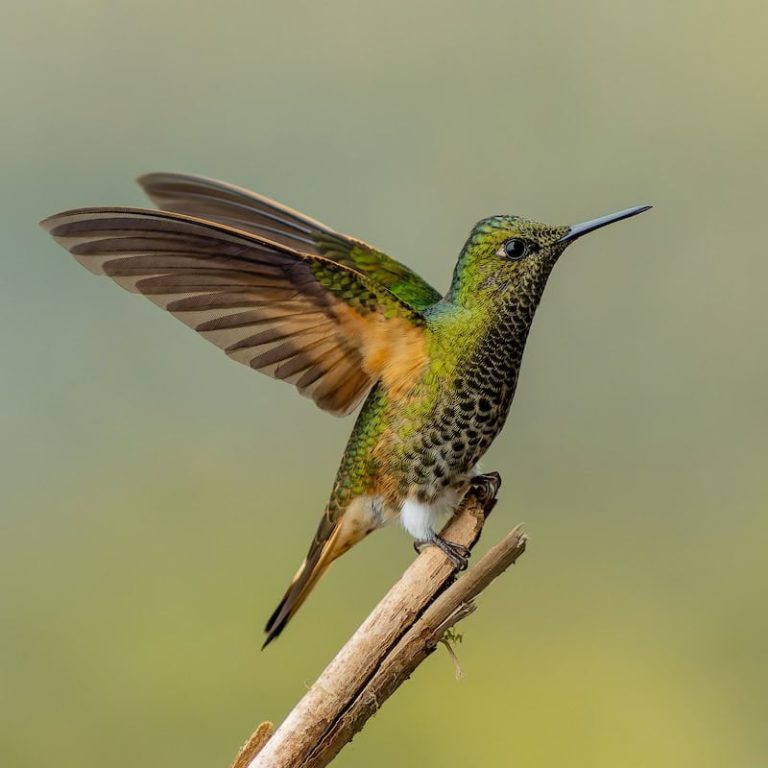
For hummingbirds in flight at a feeder, raise the shutter speed to at least 1/1600th to 1/2500th and open the aperture as wide as your lens allows — f/5.6 or wider. ISO will climb accordingly, but the clean high-ISO performance of current camera systems handles this well. A slightly noisy, sharp image is almost always more valuable than a clean, blurred one.
Autofocus Strategy for Birds in Flight
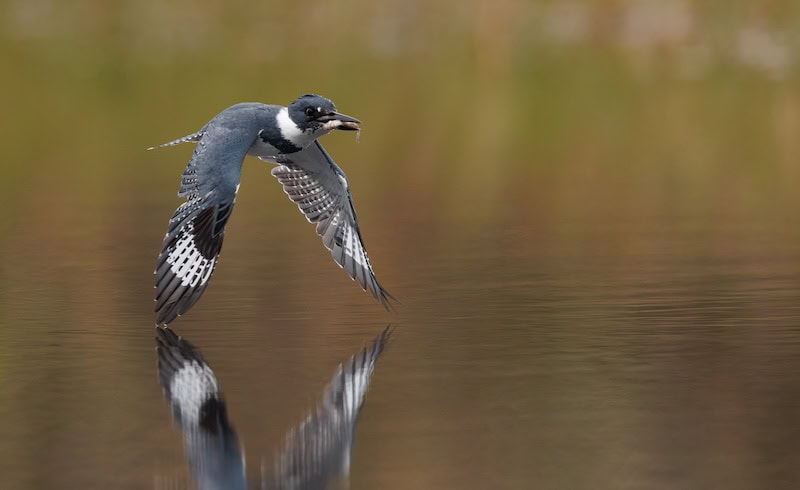
Set continuous autofocus (AF-C or AI Servo depending on system) rather than single-shot for any moving subject. Enable the widest tracking area your camera offers, and if your body has animal or bird detection, enable it — even imperfect tracking assistance is better than none when a subject is moving unpredictably. When shooting birds in flight, the priority shifts entirely to maintaining a locked, continuous focus through the arc of movement — which is where modern subject-tracking systems earn their keep.
For subjects as small and fast as hummingbirds, the single most useful skill to develop before your expedition is the ability to find a bird quickly in the viewfinder and hold the focus point on it through a burst. Practice this at home on garden birds, on insects, on anything that moves in an irregular pattern. The muscle memory you develop before you leave will improve your results in the field significantly.
Photographing Birds: Building Your Eye Before You Arrive
The gap between an expedition traveller who returns with a handful of sharp, well-composed bird photos and one who returns with a card full of blurred near-misses is rarely a gear gap. It is almost always a practice gap. Bird photography is a physical skill as much as a technical one, and the reflexes it requires — finding a small, fast-moving subject in a long telephoto’s narrow field of view, tracking it smoothly, firing at the right moment — are not developed by reading about them.
Before any serious bird photography expedition, spend time shooting whatever moves in your local environment. Garden birds at a bird feeder are an underrated training subject: they are small, fast, and unpredictable, and they will expose every weakness in your tracking and timing before you are standing in front of a species you have waited years to see. Insects in flight, dogs running, children playing — anything that moves at speed and changes direction gives you the repetitions that translate to field results.
Bird photographers who shoot regularly between expeditions maintain the muscle memory that infrequent shooters lose between trips. The specific skill of acquiring a bird in the viewfinder — raising the camera, finding the subject, and locking focus in a single fluid motion — atrophies quickly without practice and returns quickly with it. Two or three sessions a week for the month before departure will produce a measurable improvement in your keeper rate in the field. Professional bird photographers consistently cite local knowledge as the variable that separates a productive shoot from an exceptional one — not gear, not technique, but knowing where to stand and when.
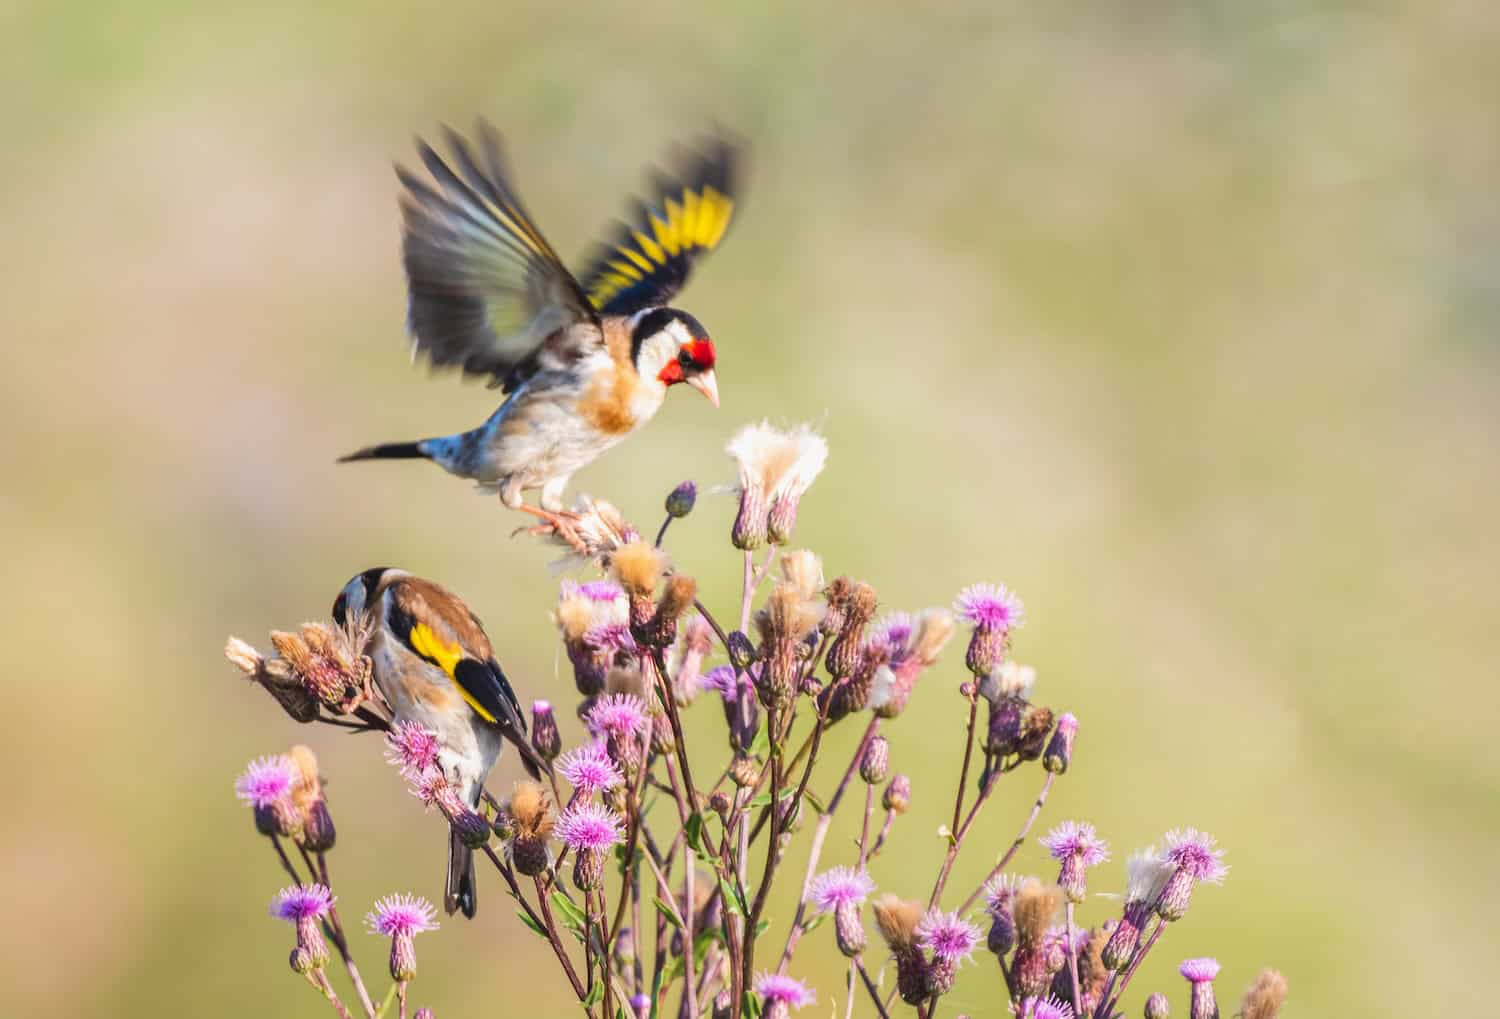
Composition is worth thinking about separately. Capture birds with room to move into the frame rather than centred — a bird flying left with space to the right reads as dynamic; the same bird pressed against the frame edge reads as trapped. Eye level matters too: bird photographs taken from standing height looking down carry a different quality of engagement than those taken at the bird’s own level, which requires getting low, being patient, and committing to a position before the subject arrives rather than scrambling to adjust when it does. These are decisions made before the shutter fires, not after.
Field Technique: The Factors That Matter Most
Getting the technical settings right is only half the equation. In the field, the decisions that most determine image quality are not made in the menu — they are made in how you read the light, where you position yourself, and how long you are willing to wait.
Light
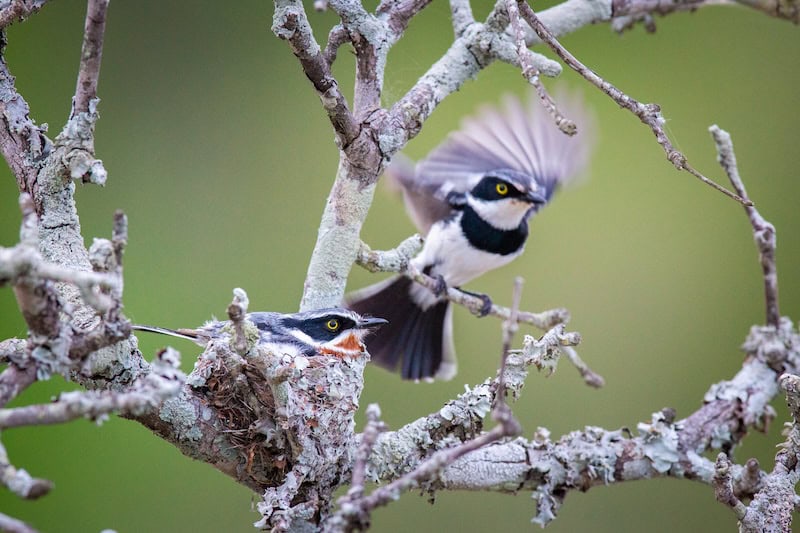
In cloud forest and mountain environments, the light in the first and last two hours of the day is not just aesthetically superior — it is often the only light under which clean images are reliably achievable. Midday cloud forest light is typically flat, diffuse, and low in intensity, which means high ISO values and limited colour rendering. The golden hours, when directional sunlight enters the canopy or strikes a feeder station, produce the saturated colours and rim-lit effects that produce the most amazing bird photos — and that define what expedition bird photography, at its best, can deliver.
Position yourself, when possible, so that the light source is behind you and illuminating the subject’s face. A backlit hummingbird at a flower is a silhouette problem; a front-lit one is a saturated-colour opportunity.
How Bird Photographers Find Their Shot
Most memorable bird photographs are not taken by searching — they are taken by positioning yourself intelligently at a productive site and waiting. Local guides know the feeder stations that attract the greatest species diversity, the trails where specific rare species are reliably encountered, and the exact positions that offer clear sightlines to lek sites. Investing in this local expertise is the highest-return decision an expedition photographer can make.
Once positioned, stillness and silence matter. Birds that are habituated to the presence of respectful observers will behave naturally; birds that are disturbed by movement or noise will not. The most productive sessions are often the quietest ones.
Ethics and Minimum Impact
Responsible bird photography in sensitive mountain ecosystems does not require elaboration beyond the obvious: keep distance, do not use playback calls in ways that divert birds from feeding or breeding, stay on established trails, and follow the guidance of expert local guides who understand what disturbance means for the species you are there to see. The birds that have made these destinations famous among wildlife photographers are largely there because previous visitors respected them. The expectation should be that you will do the same.
Post-Processing: Turning Good Bird Photos Into Stunning Shots
RAW files from any serious bird photography session in dense forest will almost universally need work: shadows lifted, highlights recovered, white balance adjusted for the blue-green cast of filtered canopy light, and noise reduction applied to high-ISO frames. This is not dishonest manipulation — it is the same tonal correction that a film photographer made in the darkroom, now available to anyone with the right software.
Lightroom, Capture One, and several other applications handle the core adjustments well. The most useful single habit is to review your shots the same evening and apply basic corrections while the context is fresh. By the time you reach the end of a ten-day expedition, a backlog of unprocessed RAW files is both a workflow problem and a memory problem. The birds you photographed on day two will deserve the same attention as those you photographed on day ten.
Bird Photography Tips: Quick Reference
These principles apply whether you are shooting at a managed feeder station or tracking a bird through dense understorey. Keep them in mind before you raise the camera, not after.
- The best bird photos are almost always taken during the golden hours — early morning and late afternoon — when light is directional and warm, and when birds tend to be most active and visible.
- Shooting during midday can create harsh shadows that detract from images, making the golden hours preferable for capturing birds in a more flattering light.
- To capture sharp photos of birds in motion, a fast shutter speed of at least 1/1000th of a second is recommended, with faster speeds for smaller, quicker birds.
- Using a tripod or monopod can reduce muscle fatigue when working with heavy equipment.
- The use of gimbal heads is recommended for stable tracking of fast-moving subjects.
- Full-frame cameras with at least 20 megapixels are essential for better low-light performance and image detail in bird photography.
- Utilising a wide aperture (f/4 or f/5.6) helps to isolate the subject from distracting backgrounds.
- When shooting at a bird feeder station, pre-focus on the perch or favourite flower rather than tracking each arrival — this allows you to capture birds the moment they land rather than hunting focus from scratch on each visit.
- Using the rule of thirds can enhance the composition of bird photographs by positioning the bird along one of the lines or at an intersection, adding balance and engagement to the image.
- Getting down to the bird’s eye level can create more engaging and professional-looking images, as it provides a unique perspective that reflects how birds see their world.
- Reviewing your bird photographs on a laptop screen the same evening — rather than the camera’s LCD — reveals focus misses and camera shake that look acceptable on a small screen but will limit your ability to crop and print at quality.